

A few months ago, I stumbled on a NeXT Computer Replica - Raspberry Pi Case from Nina Makes and I printed one of my own but for a Raspberry Pi 4 which required a different back STL file to properly fit. I found this remix here for that.
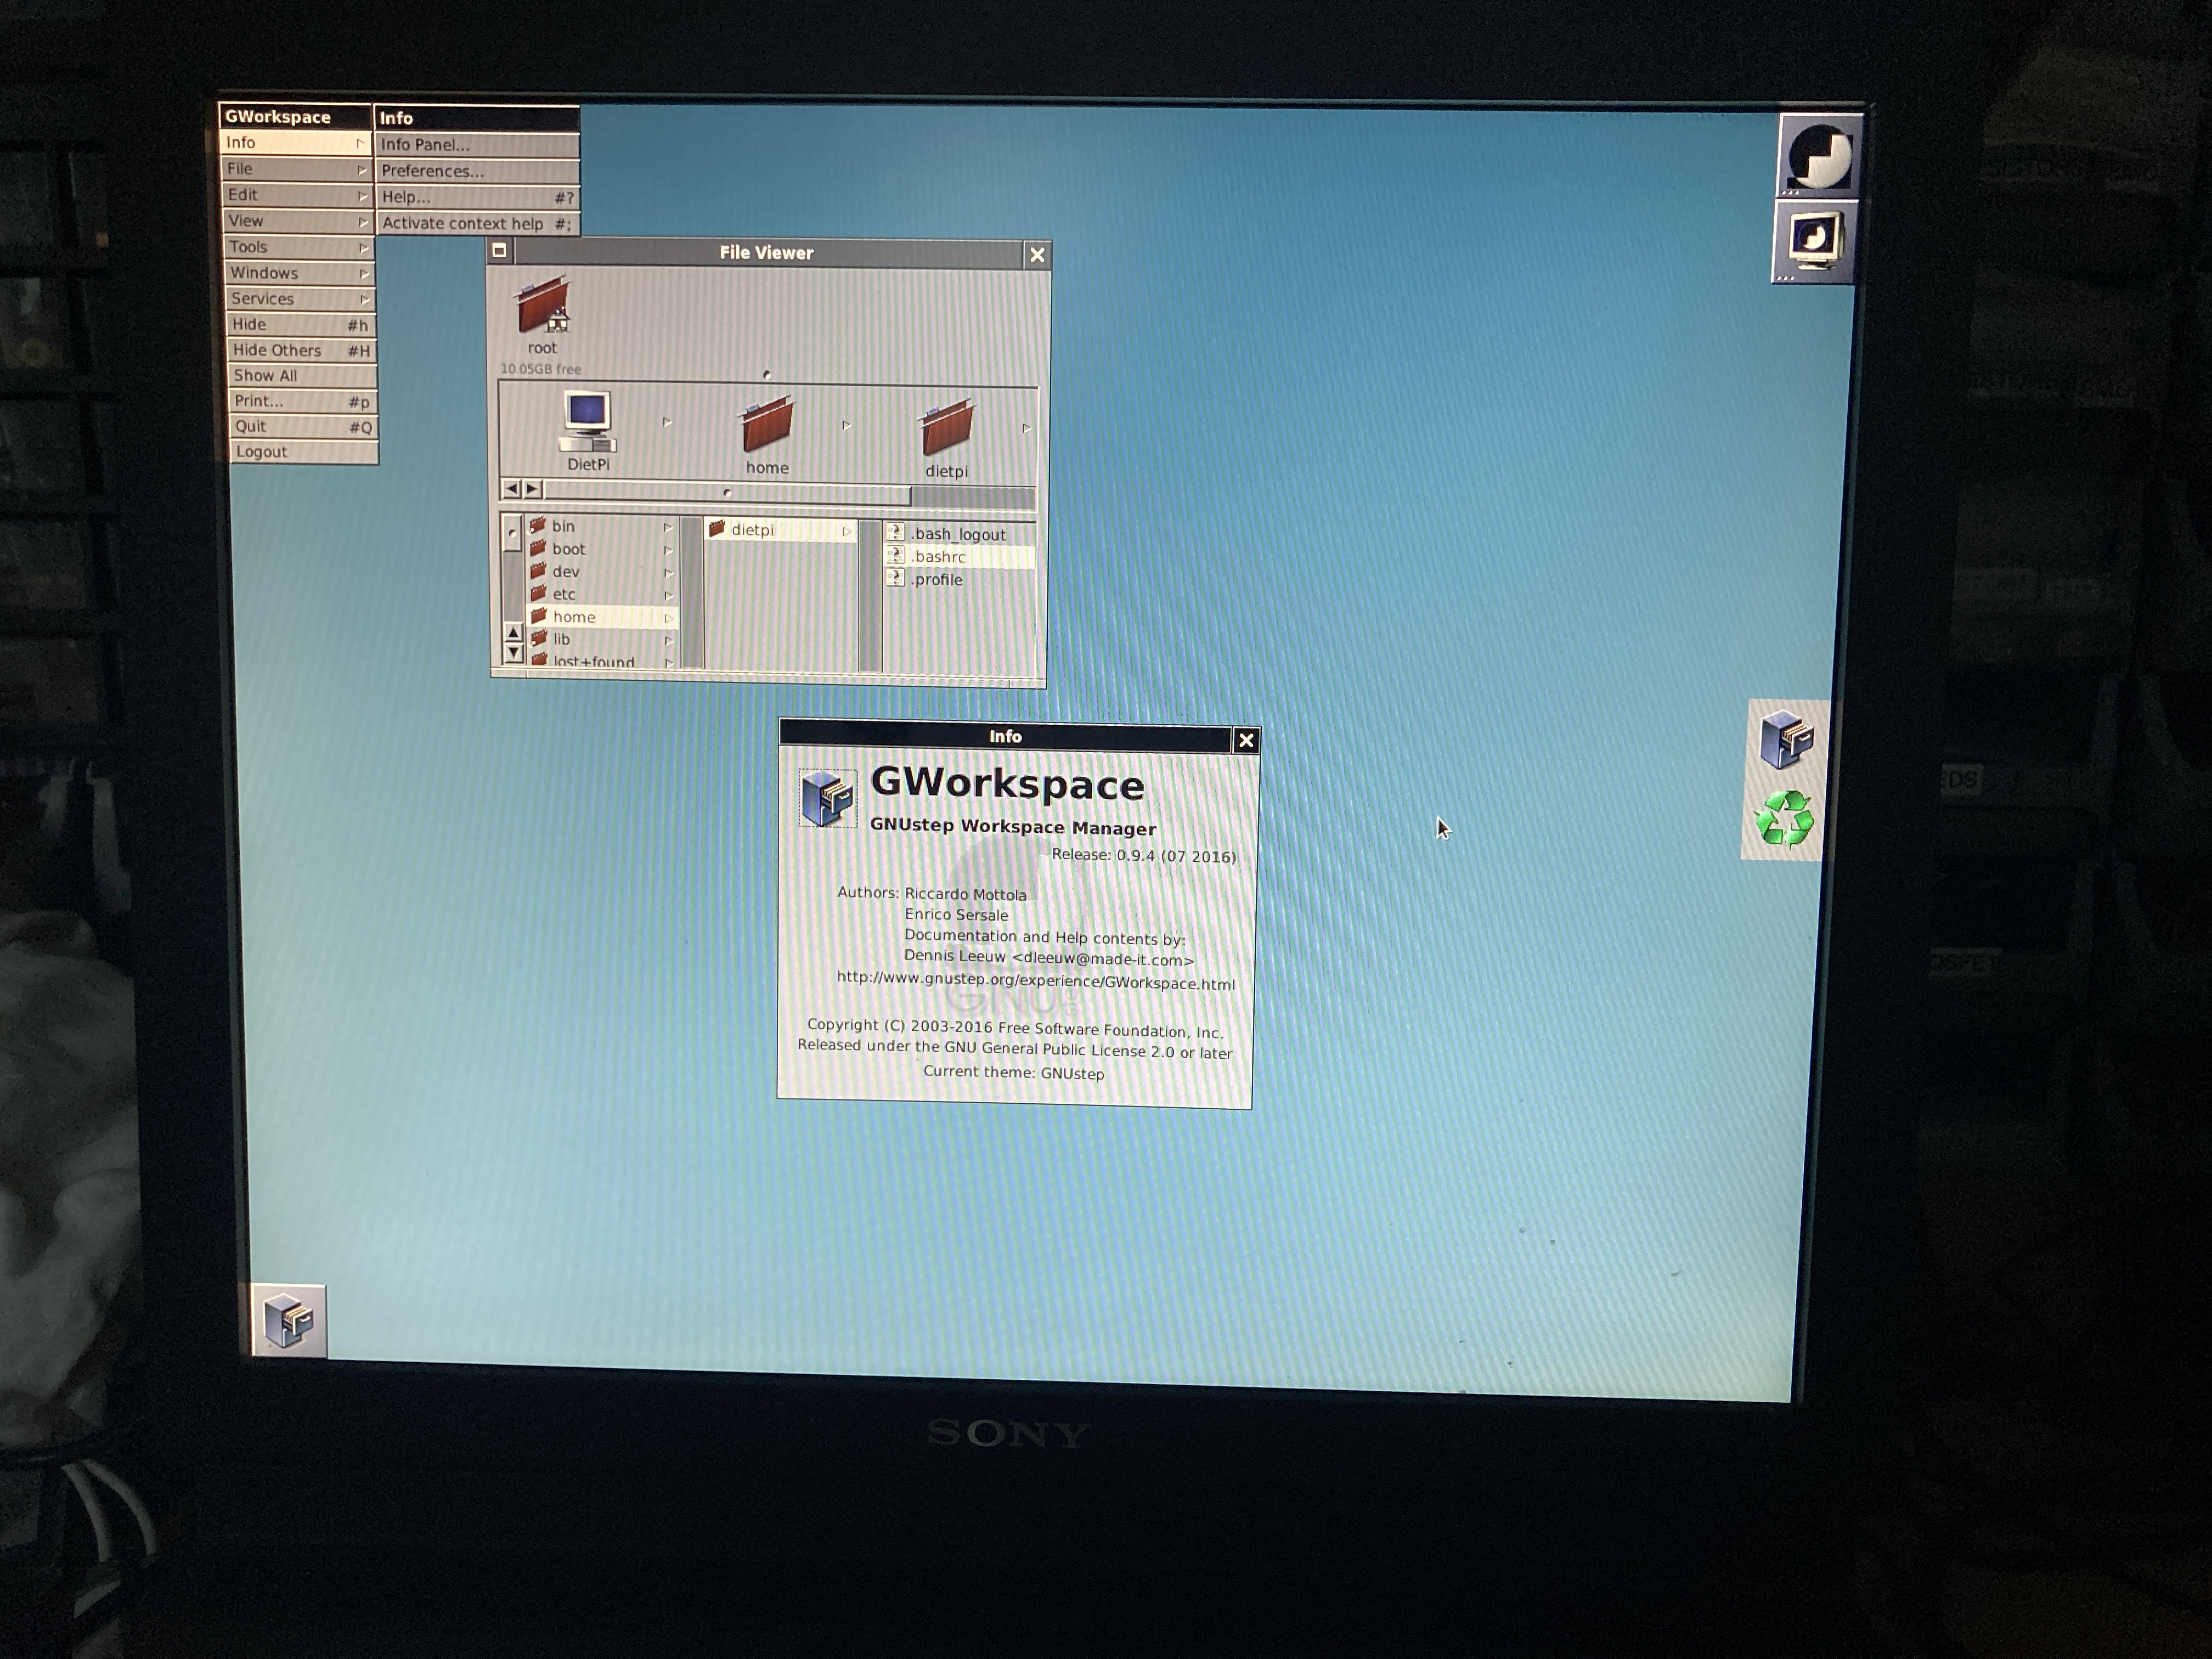
Using PINN I installed 2 OS’s on the Raspberry PI. The stock Raspberry Pi OS and DietPI which offered an easy way to install the GNUStep desktop environment.
I found this an interesting article on how to dual boot multiple OS’s with a Raspberry PI.
Scaling up
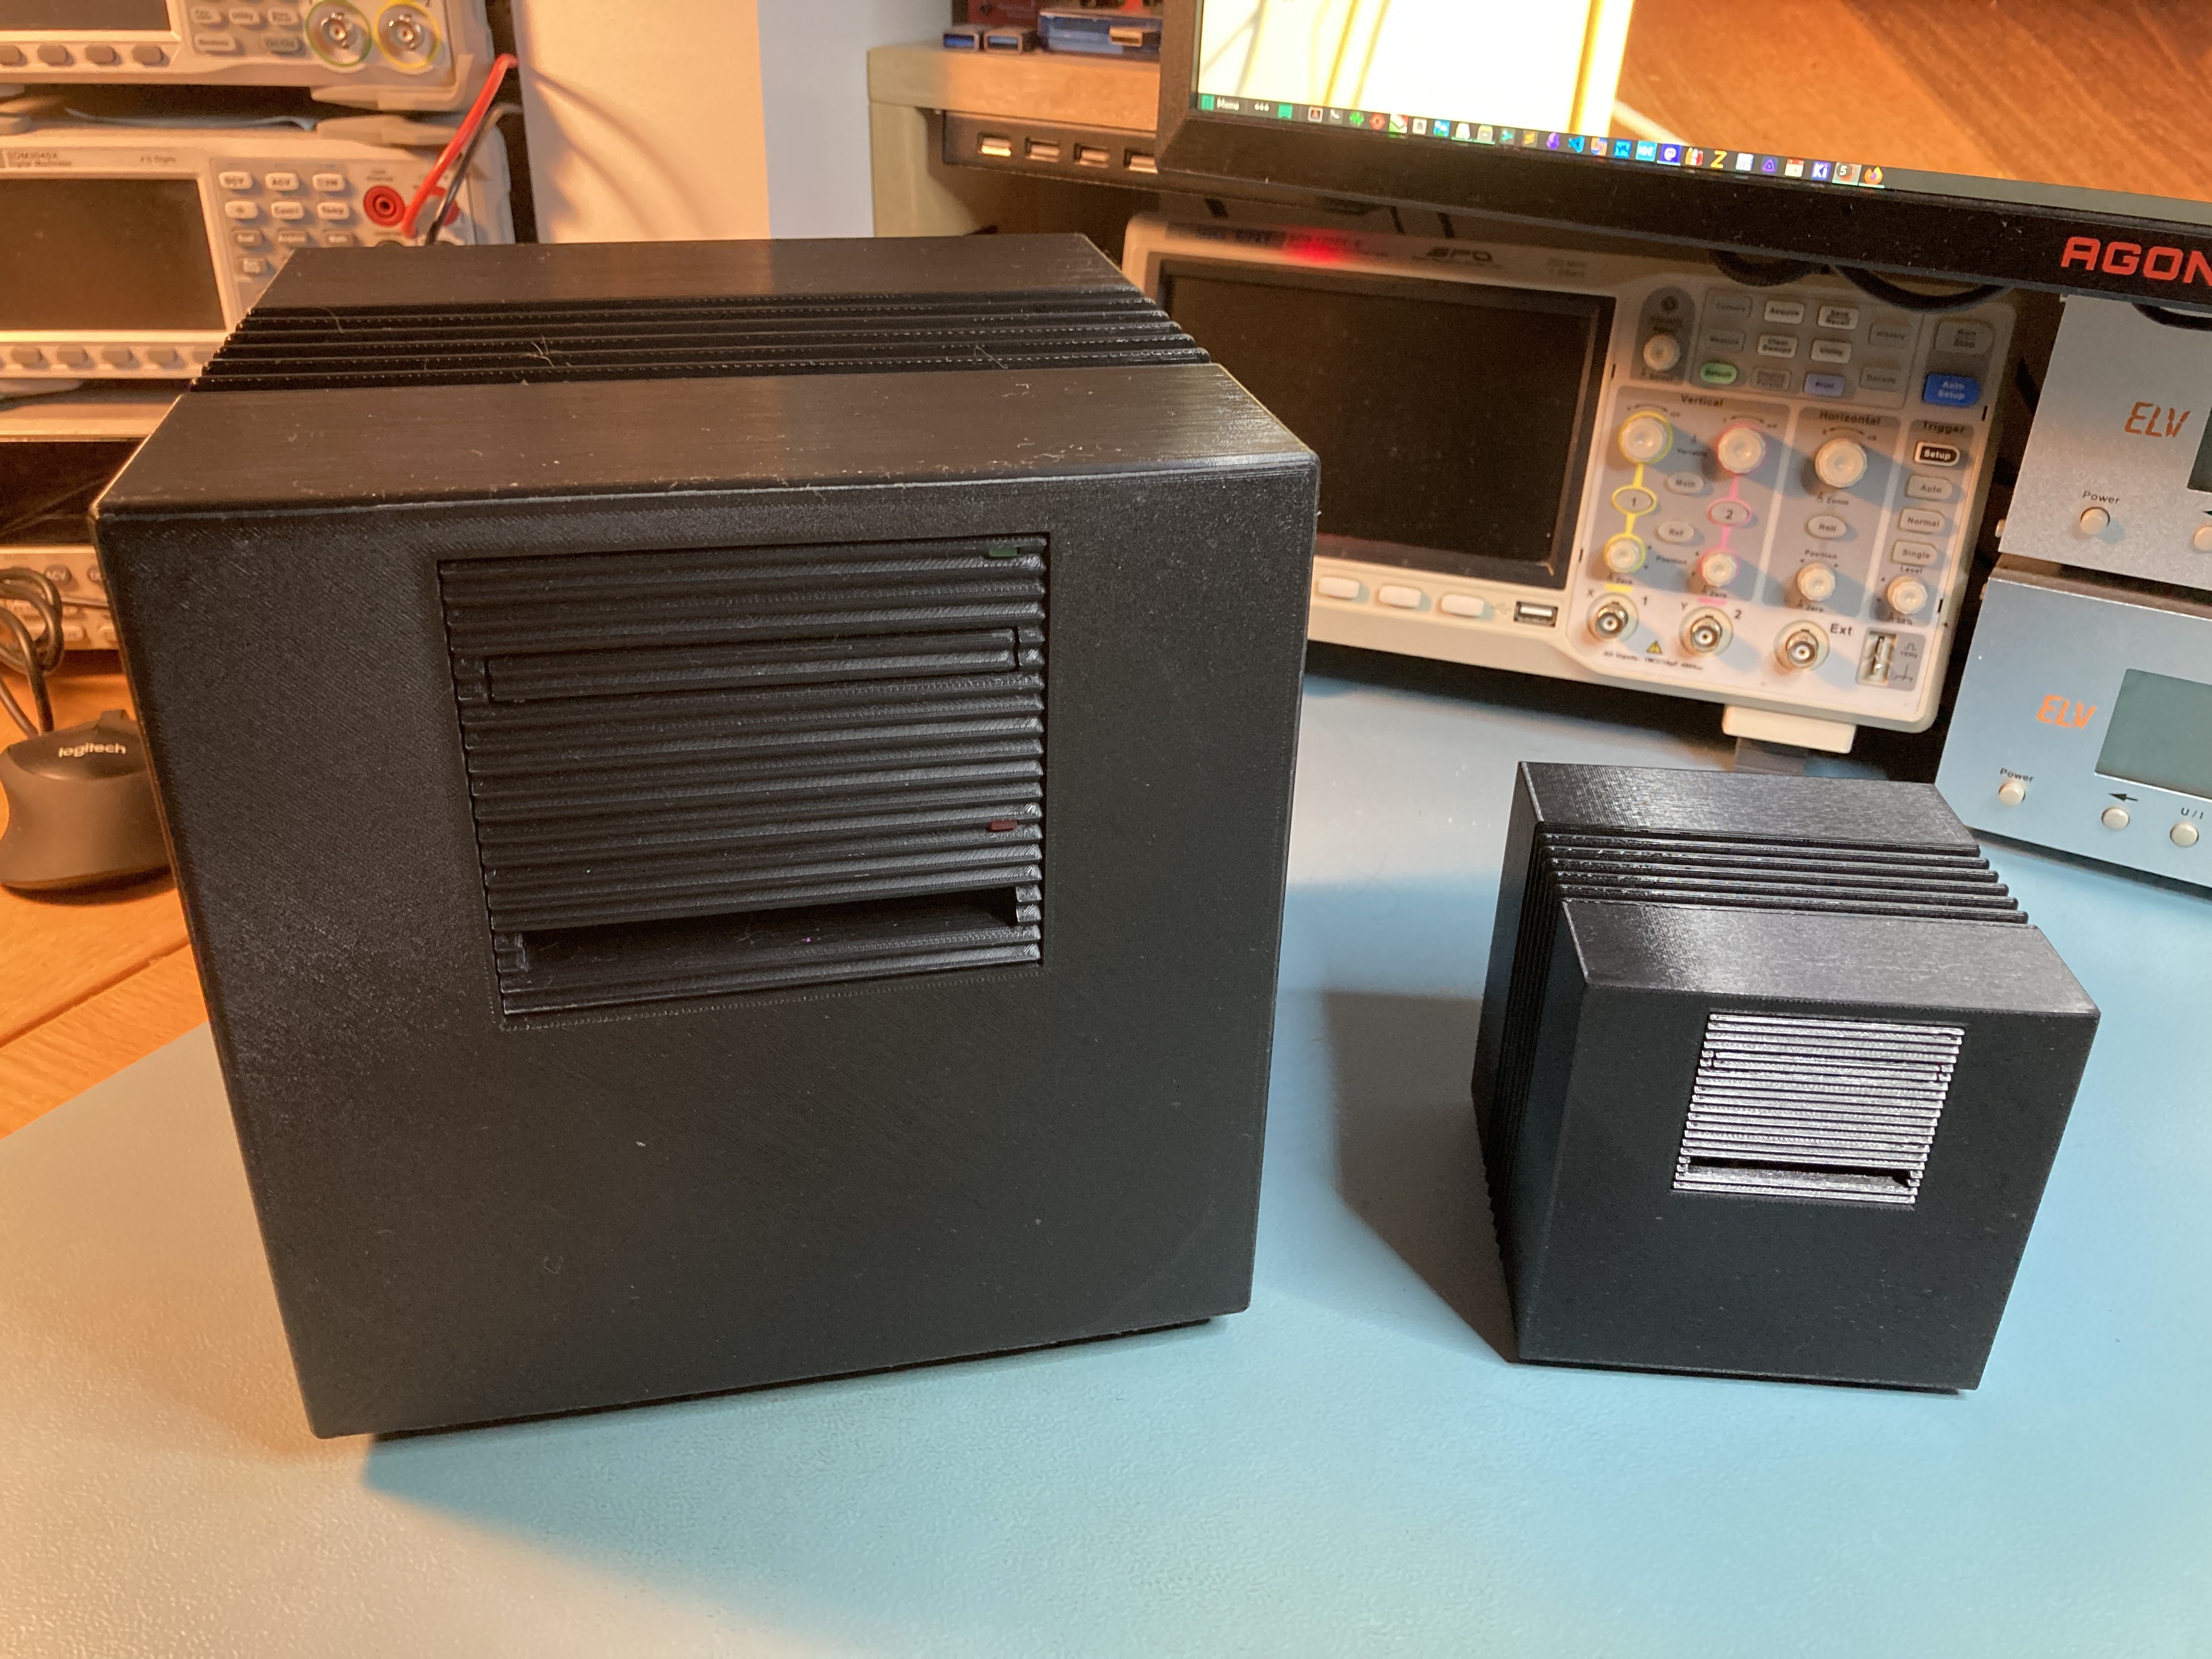
After a while I felt the urge to scale the NextCube to something bigger and give it a beefier CPU so that it could replace my ageing 2013 Macbook Pro in the future.
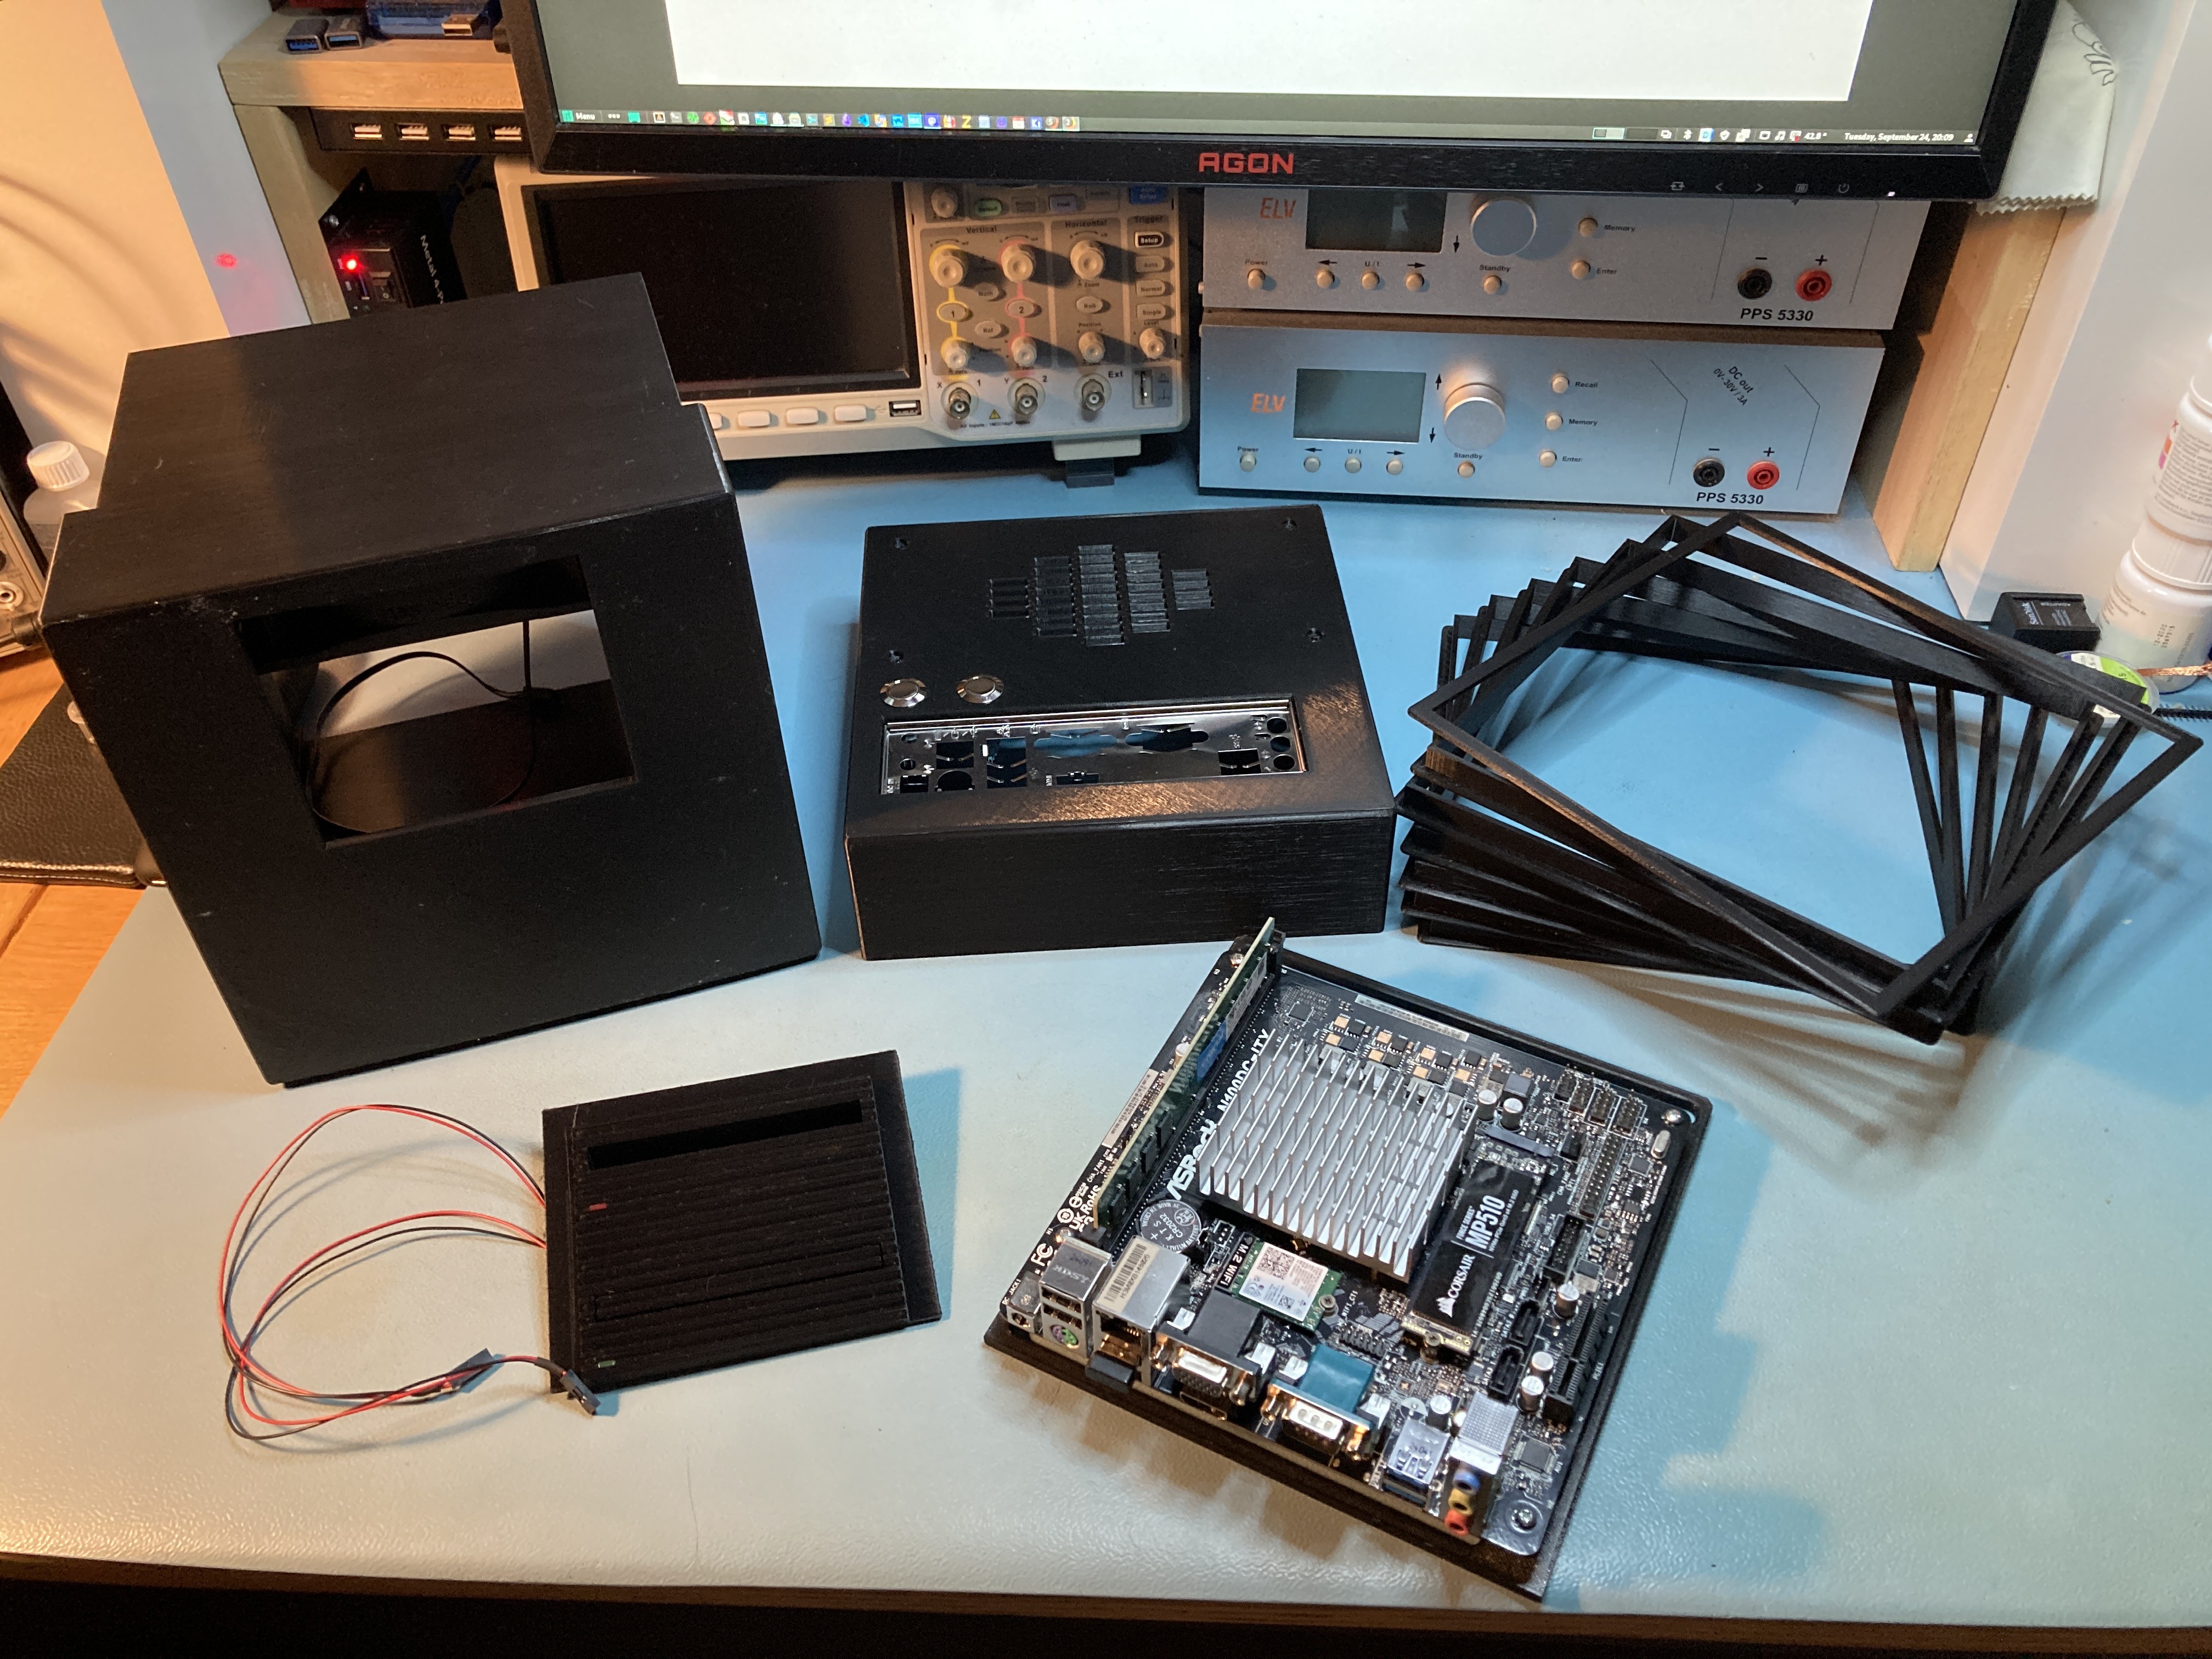
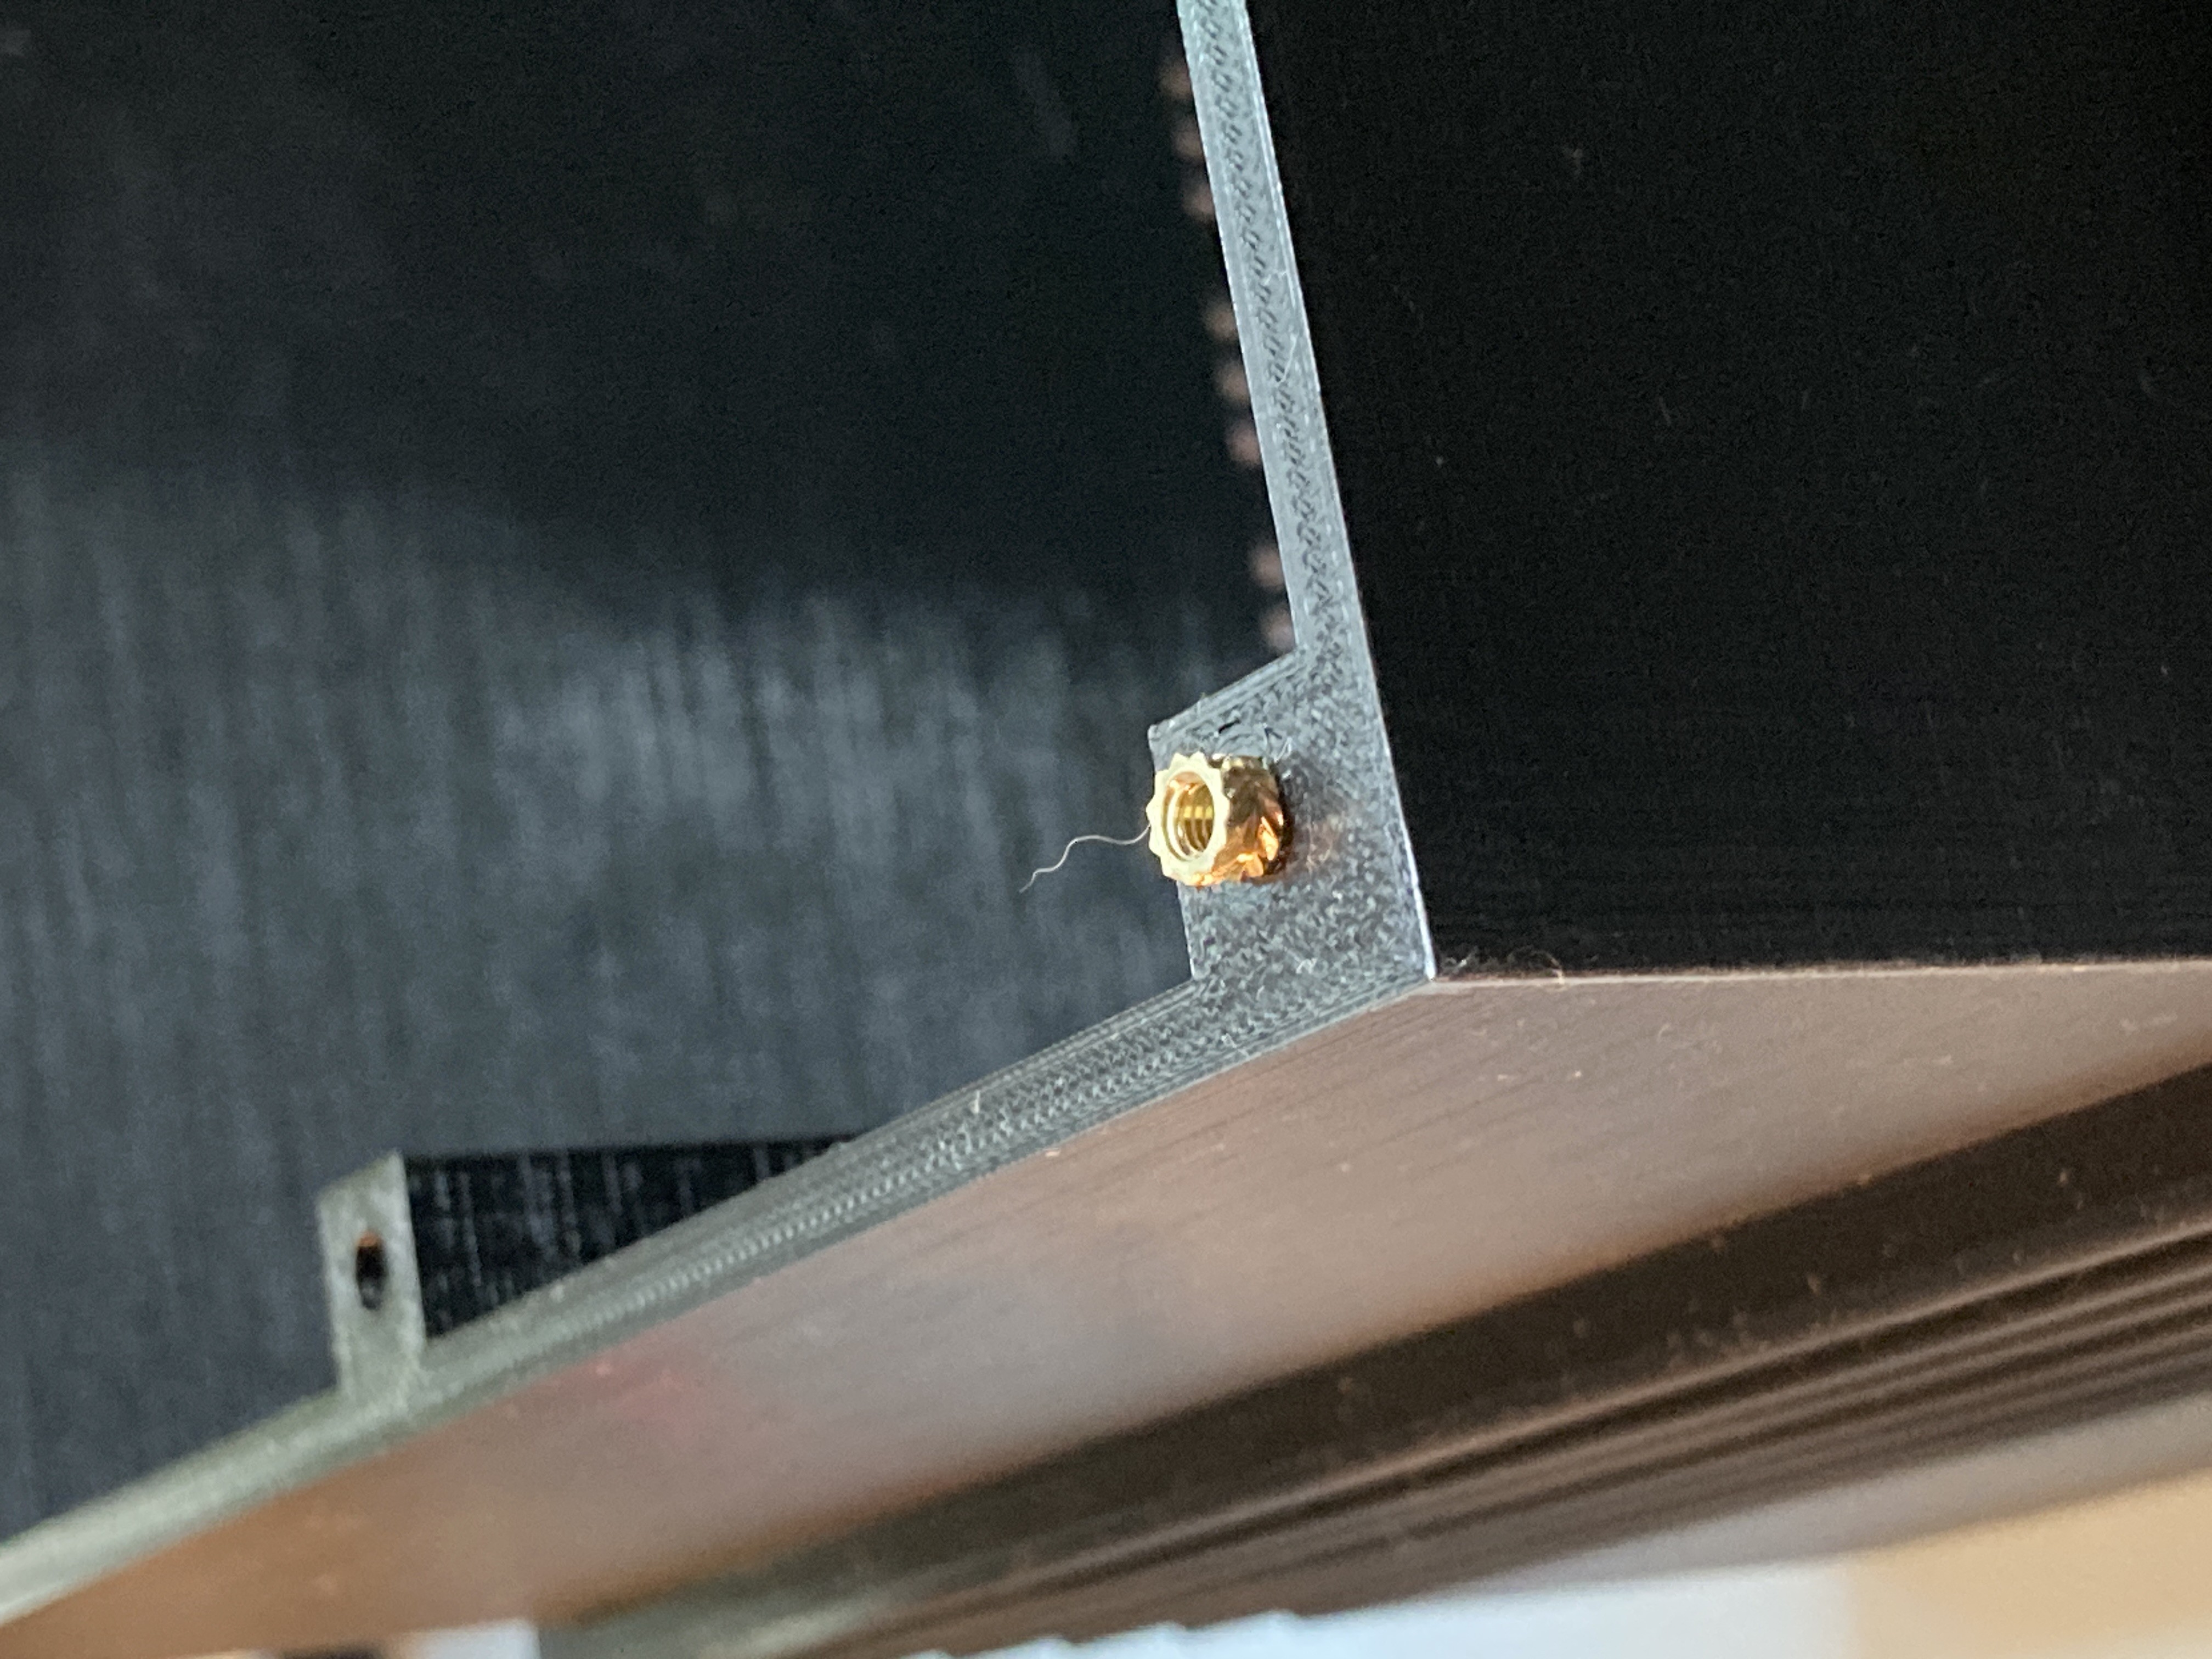
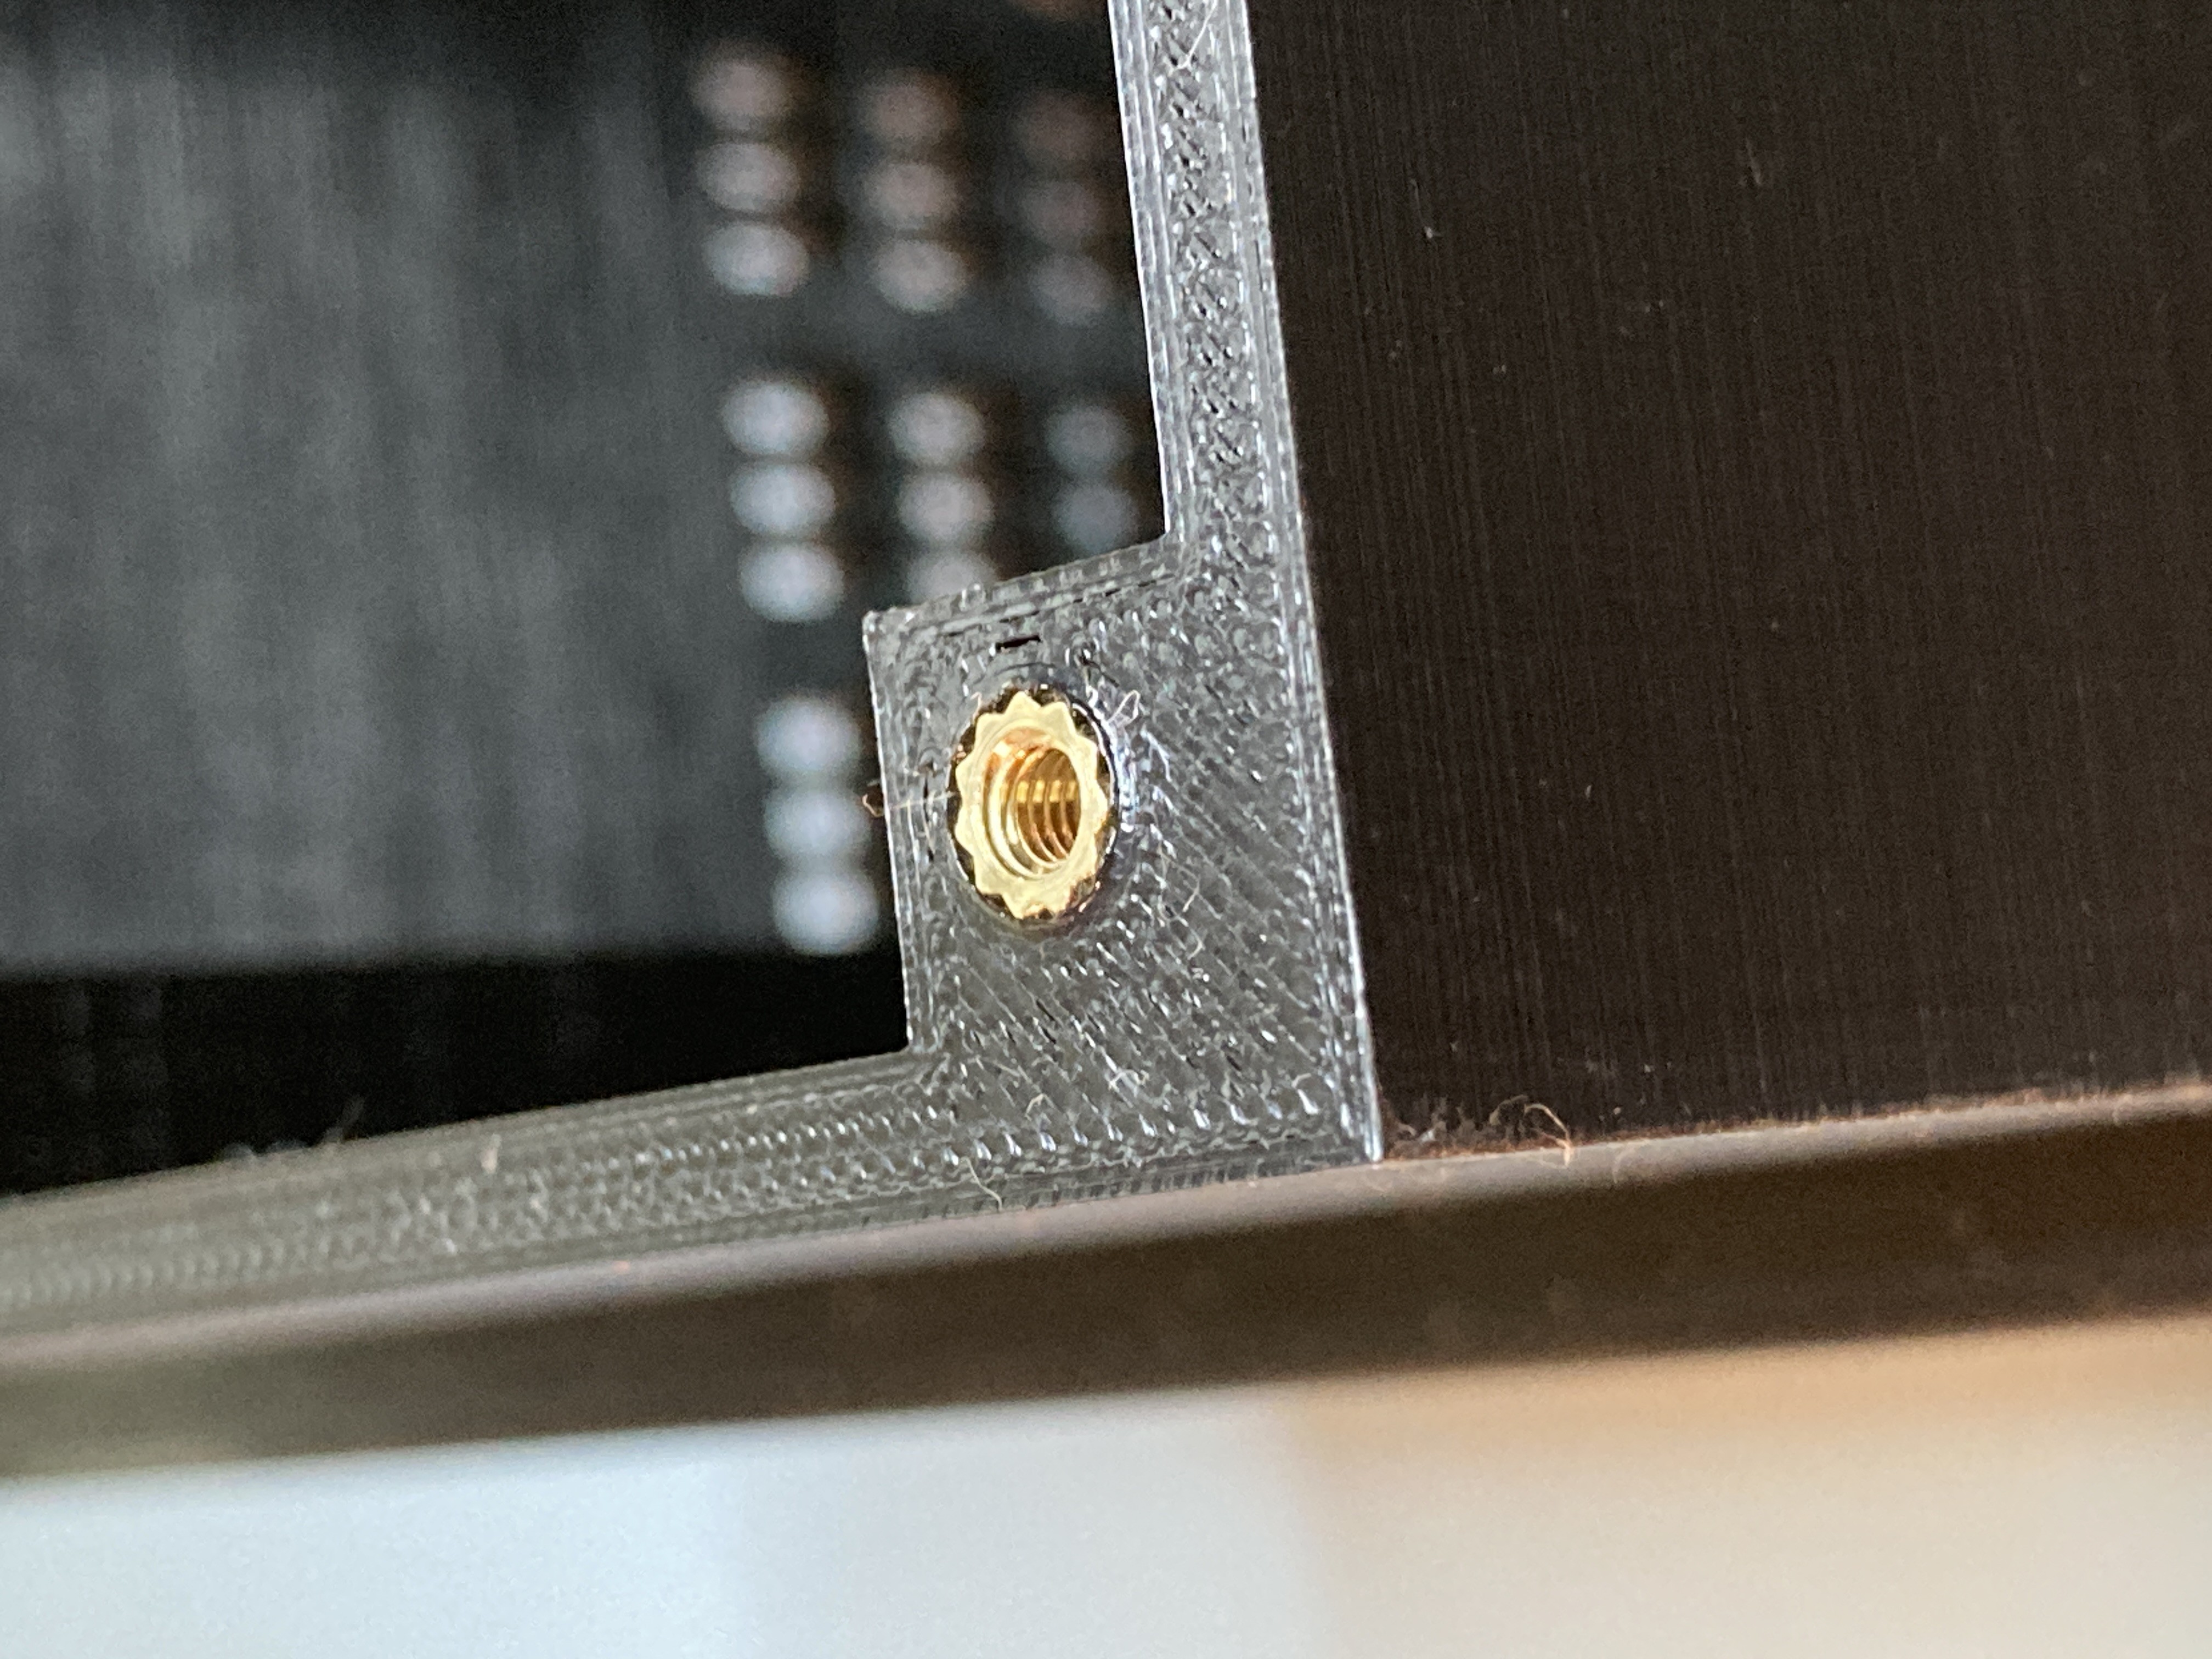
The max size is of course dictated by the max size my 3D printer (a Prusa MK3S) could print and I quickly settled on an edge size 200 mm which is exactly double as the tiny NextCube I already printed. I hoped I could reuse a lot of the original STL files by simply scaling them up by 200%. In the end only the ribbed front panel and feet were reusing the original STL files. I redesigned the other components from scratch mainly so that I could give the case rounded edges like the original NextCube. That gave me finally a good reason to learn FreeCAD as well. So far I always used OpenSCAD.

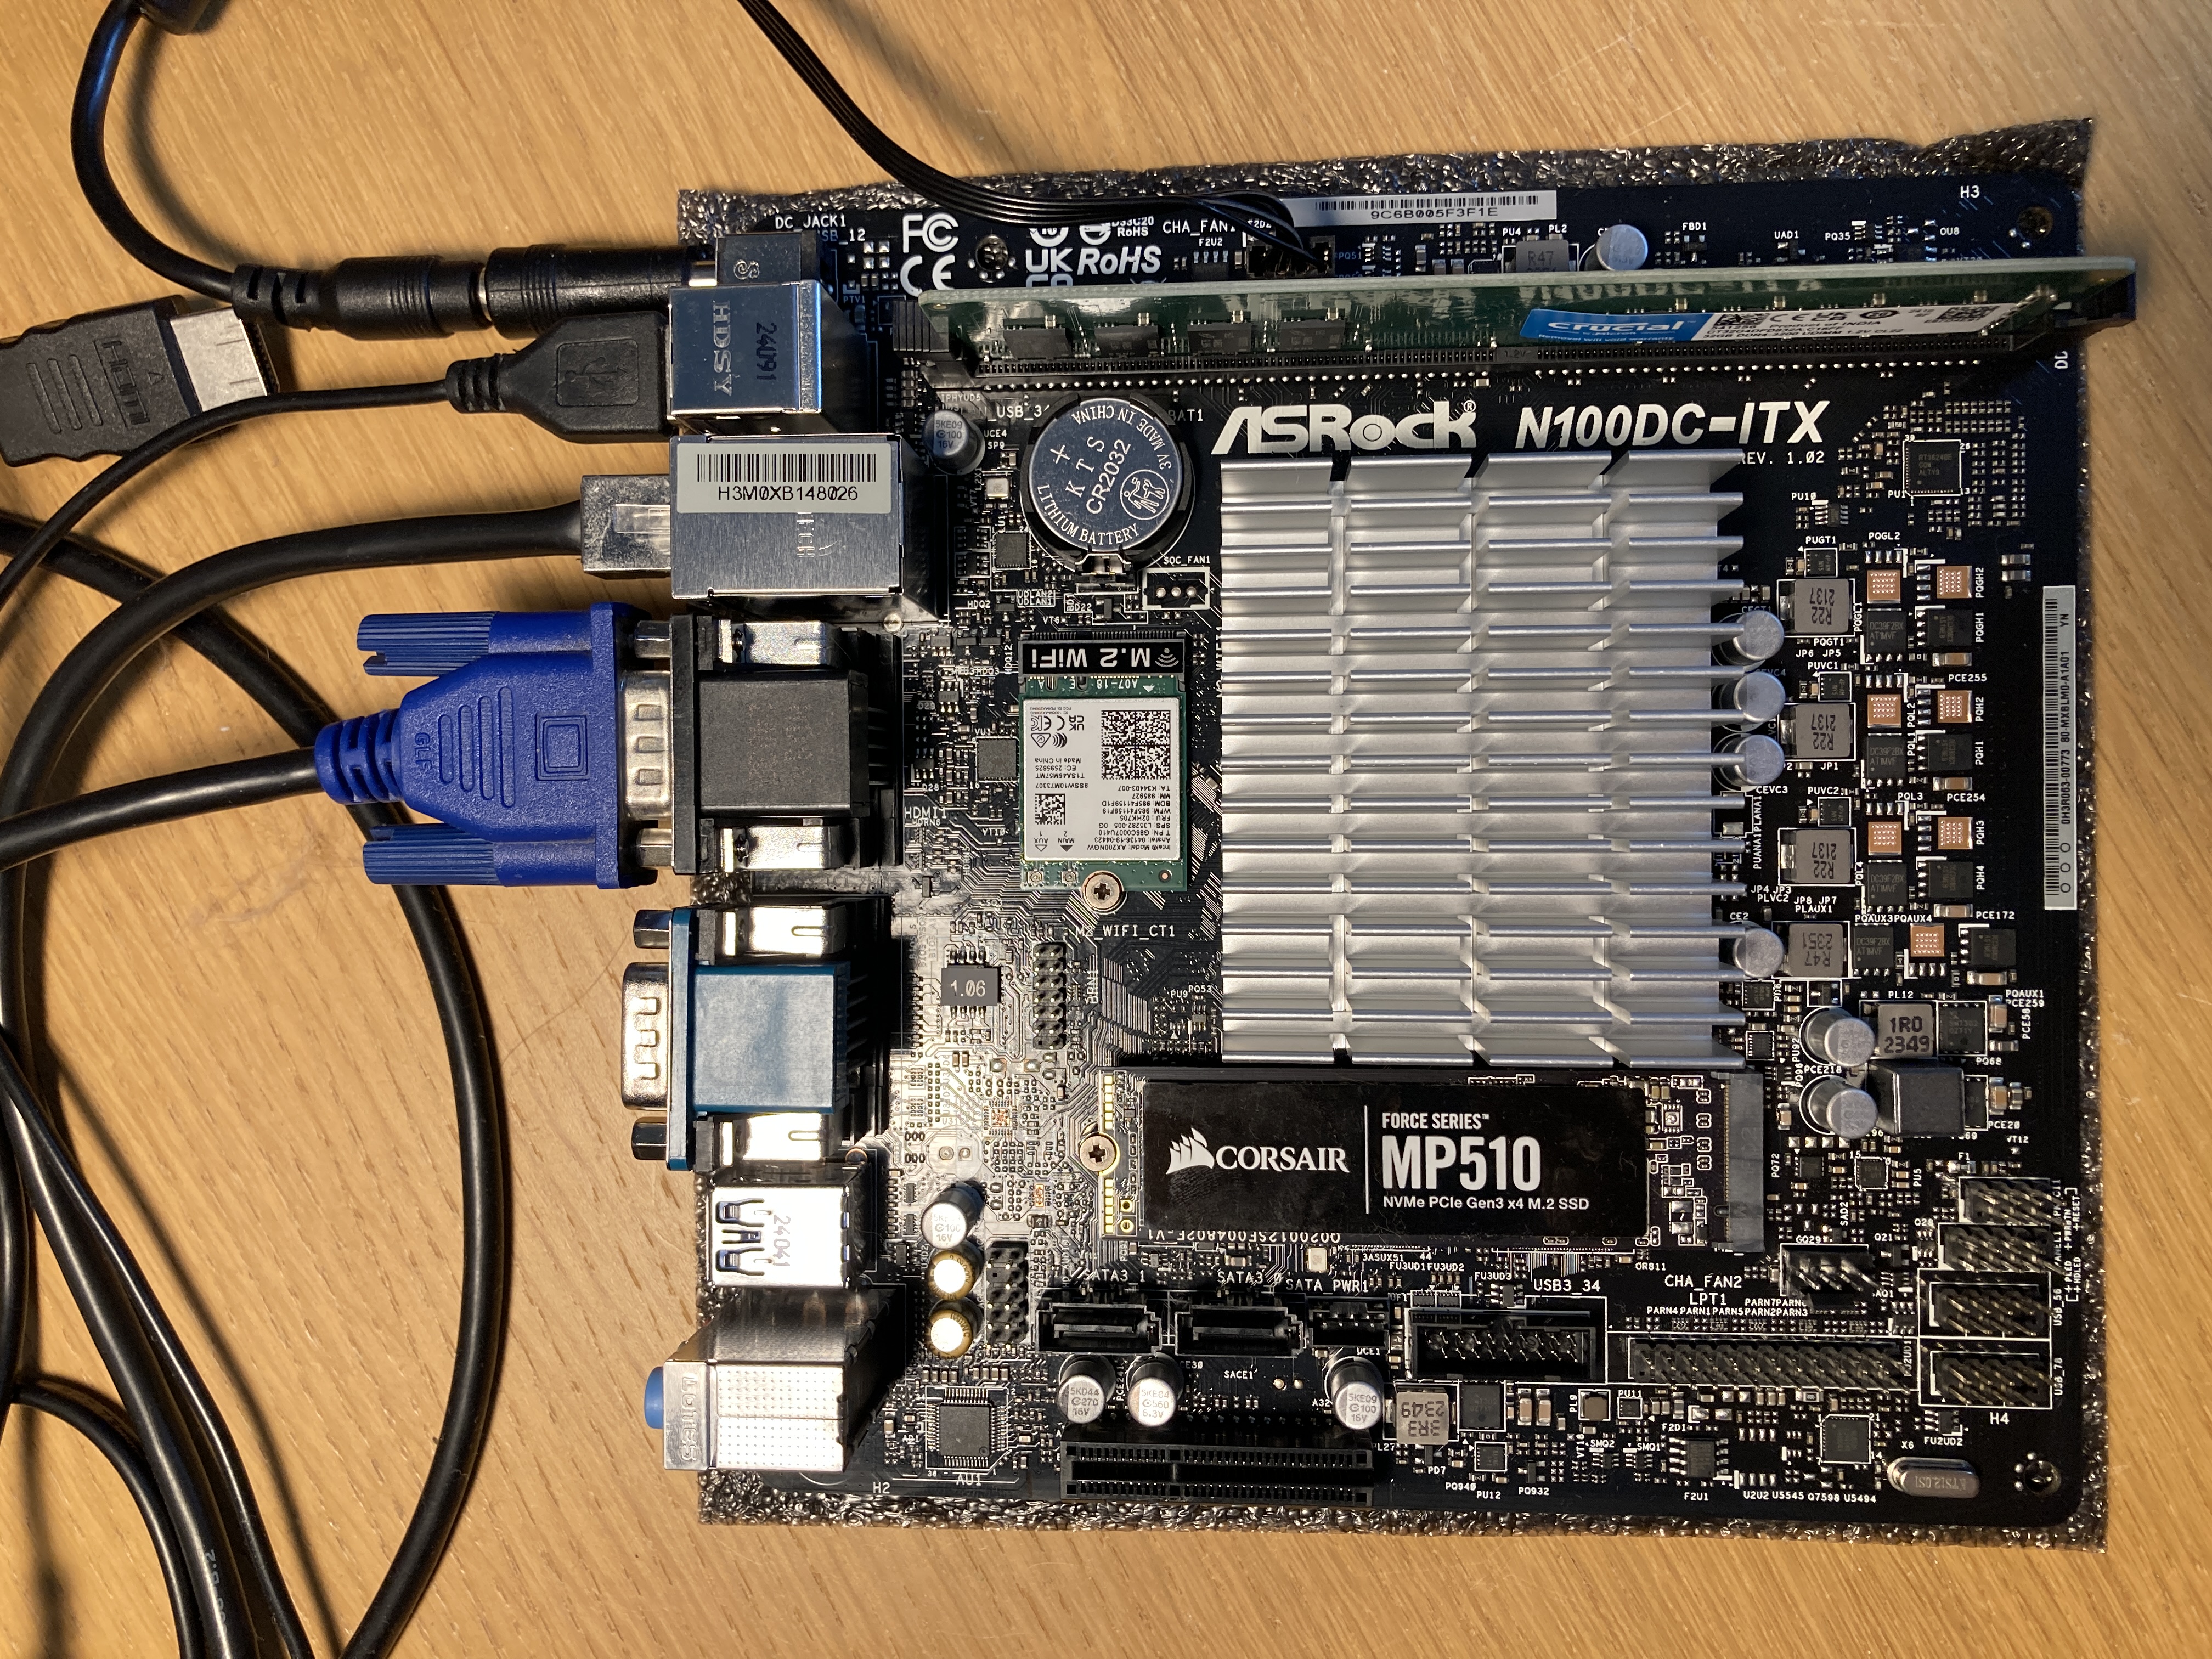
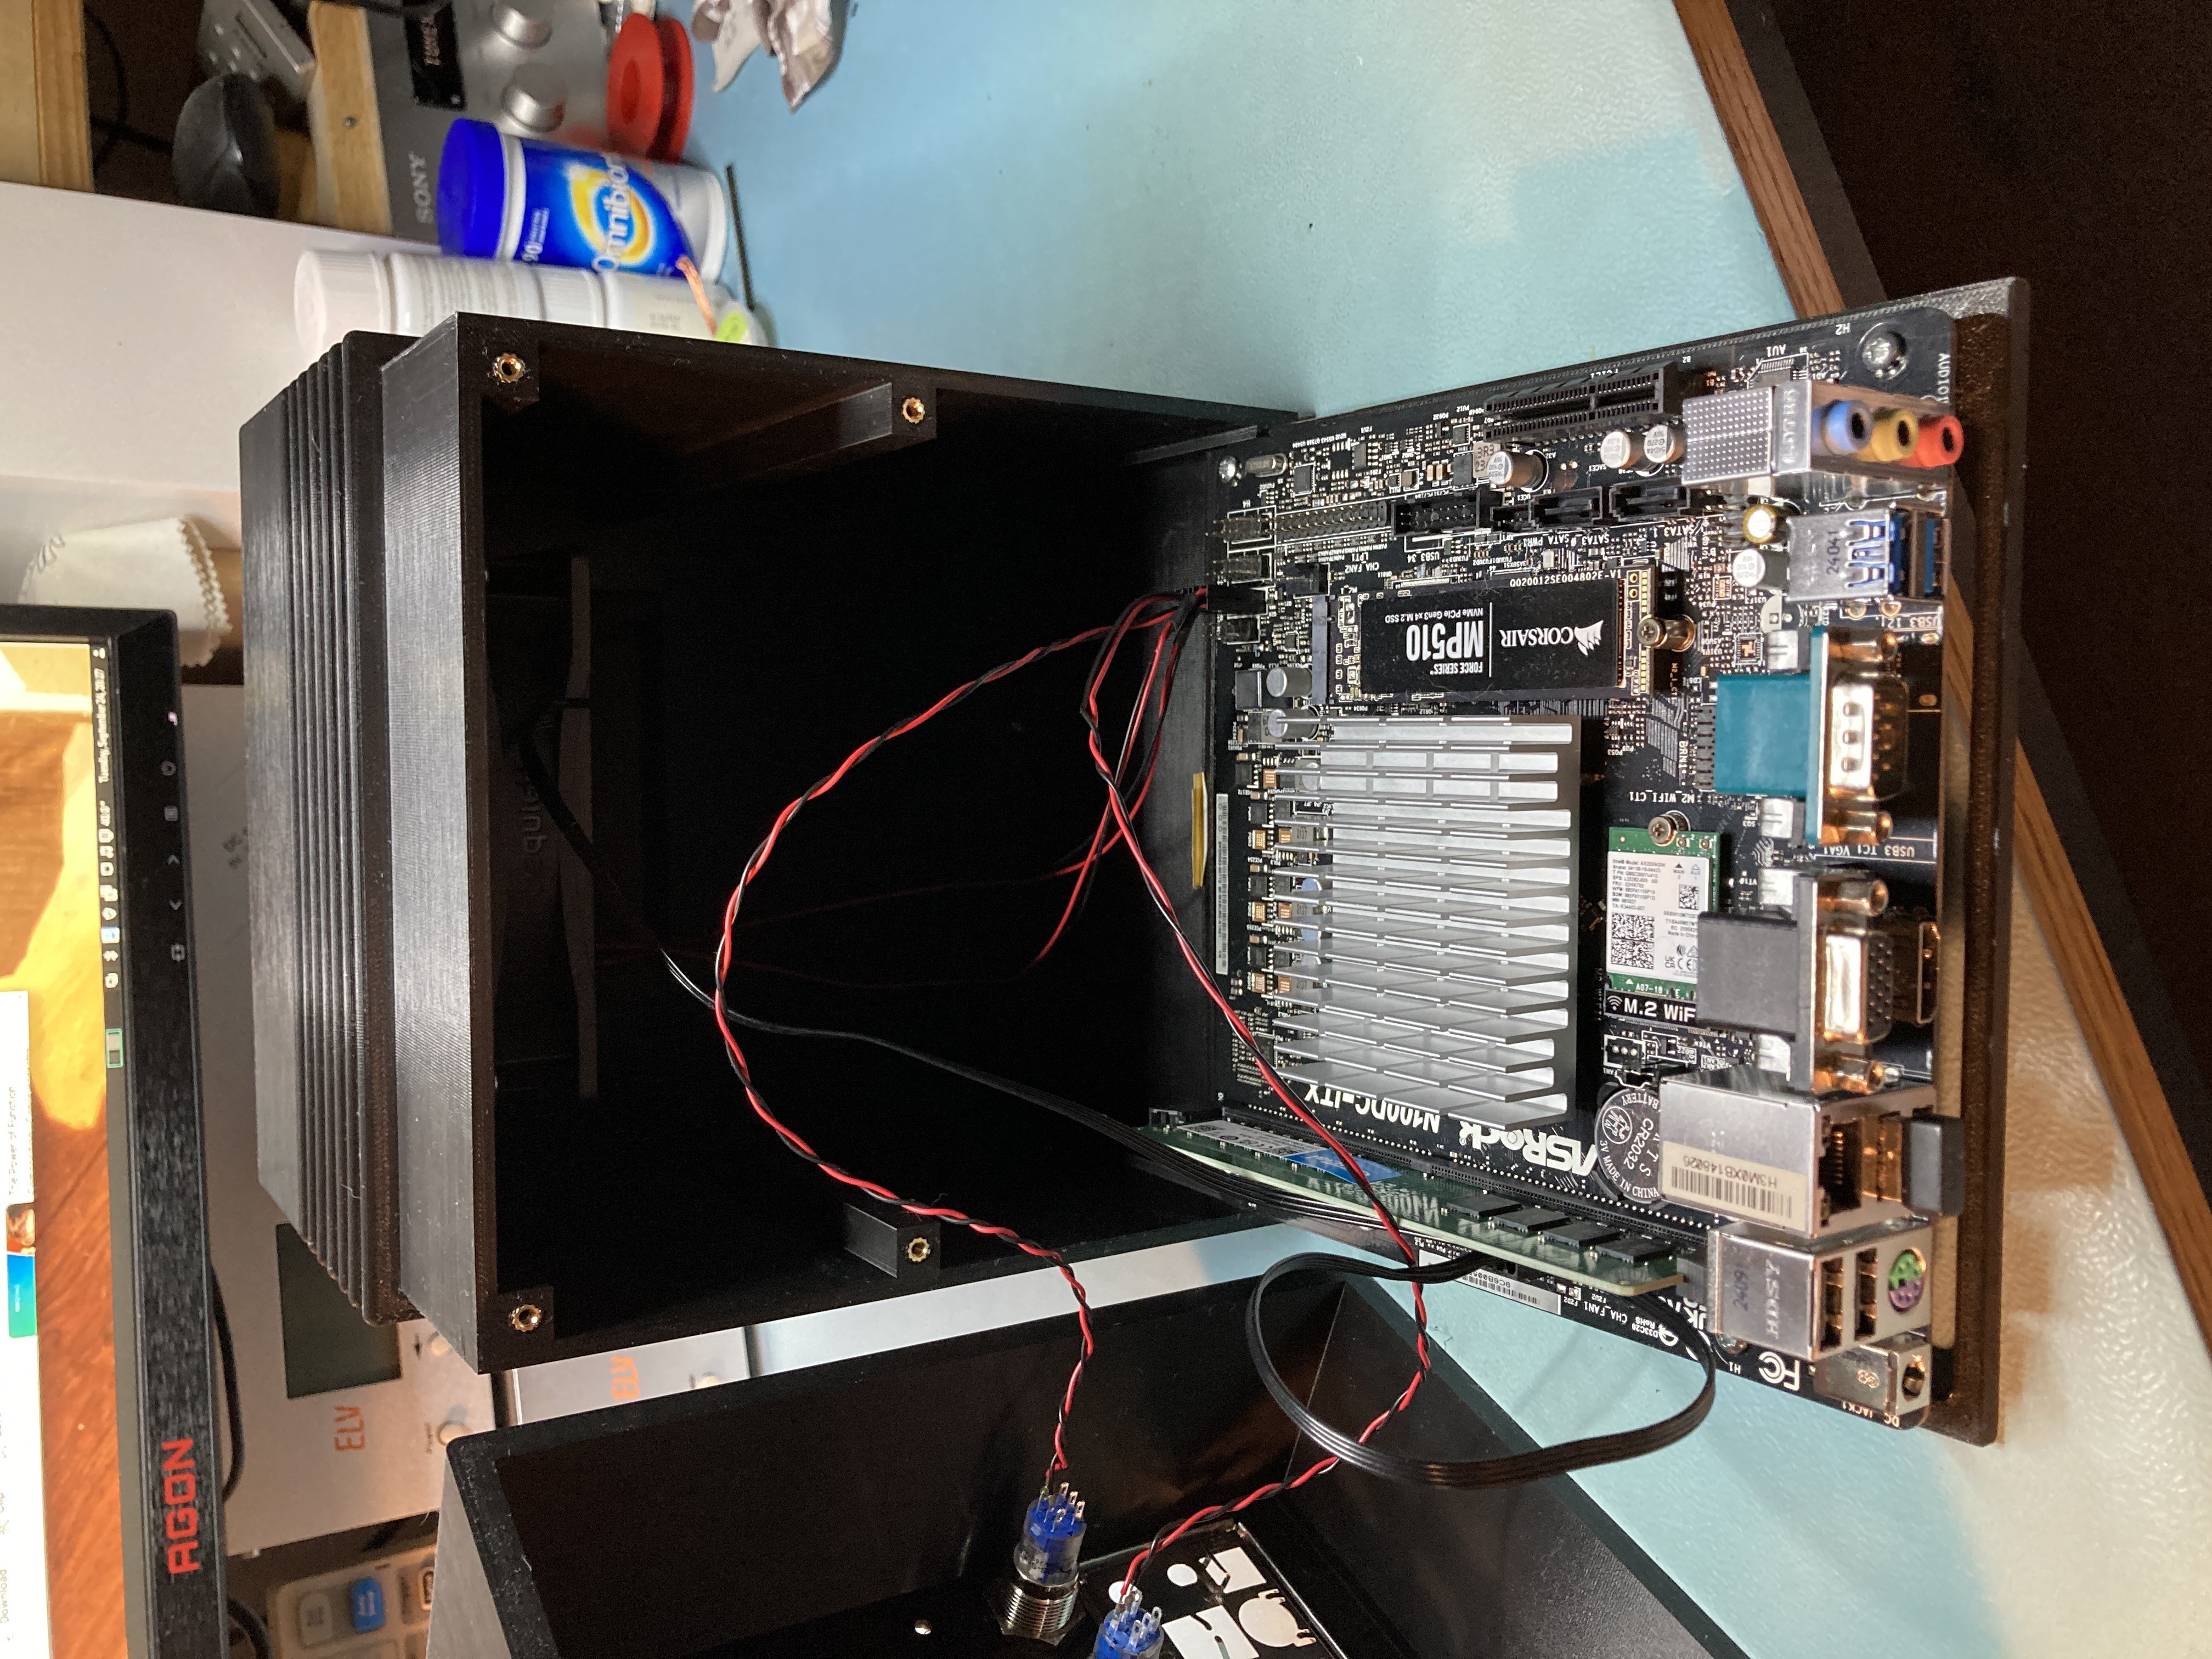
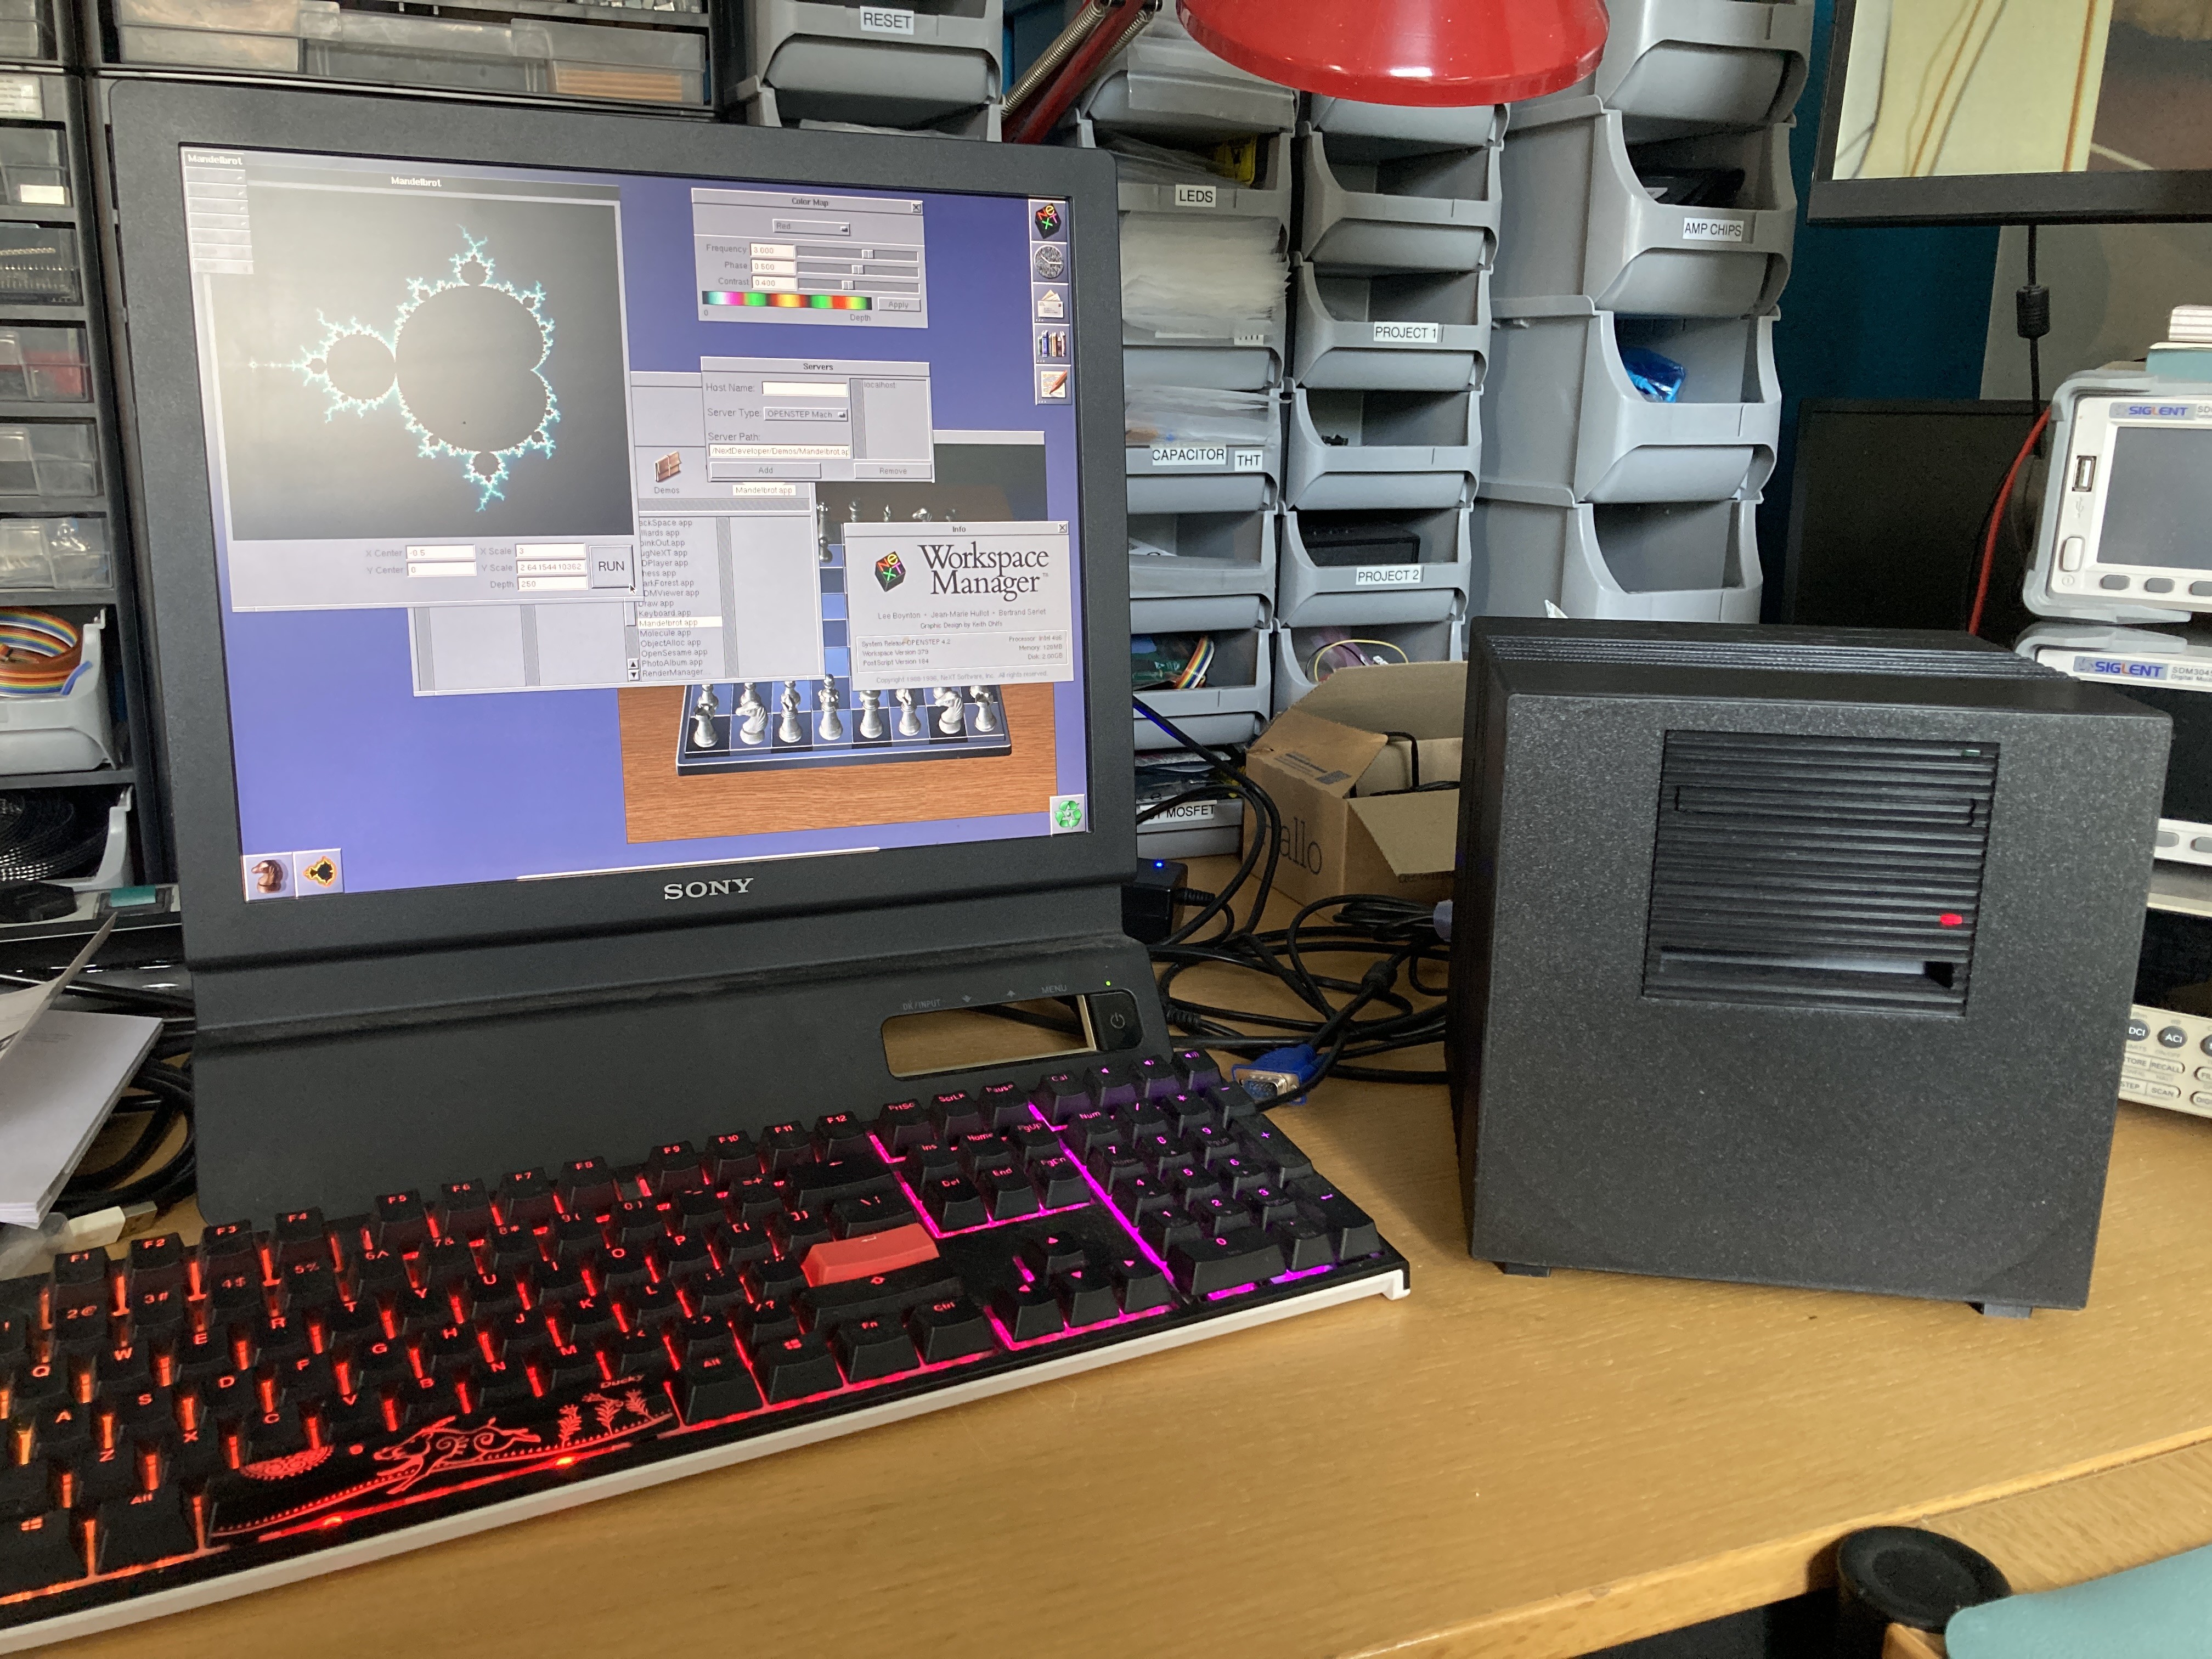
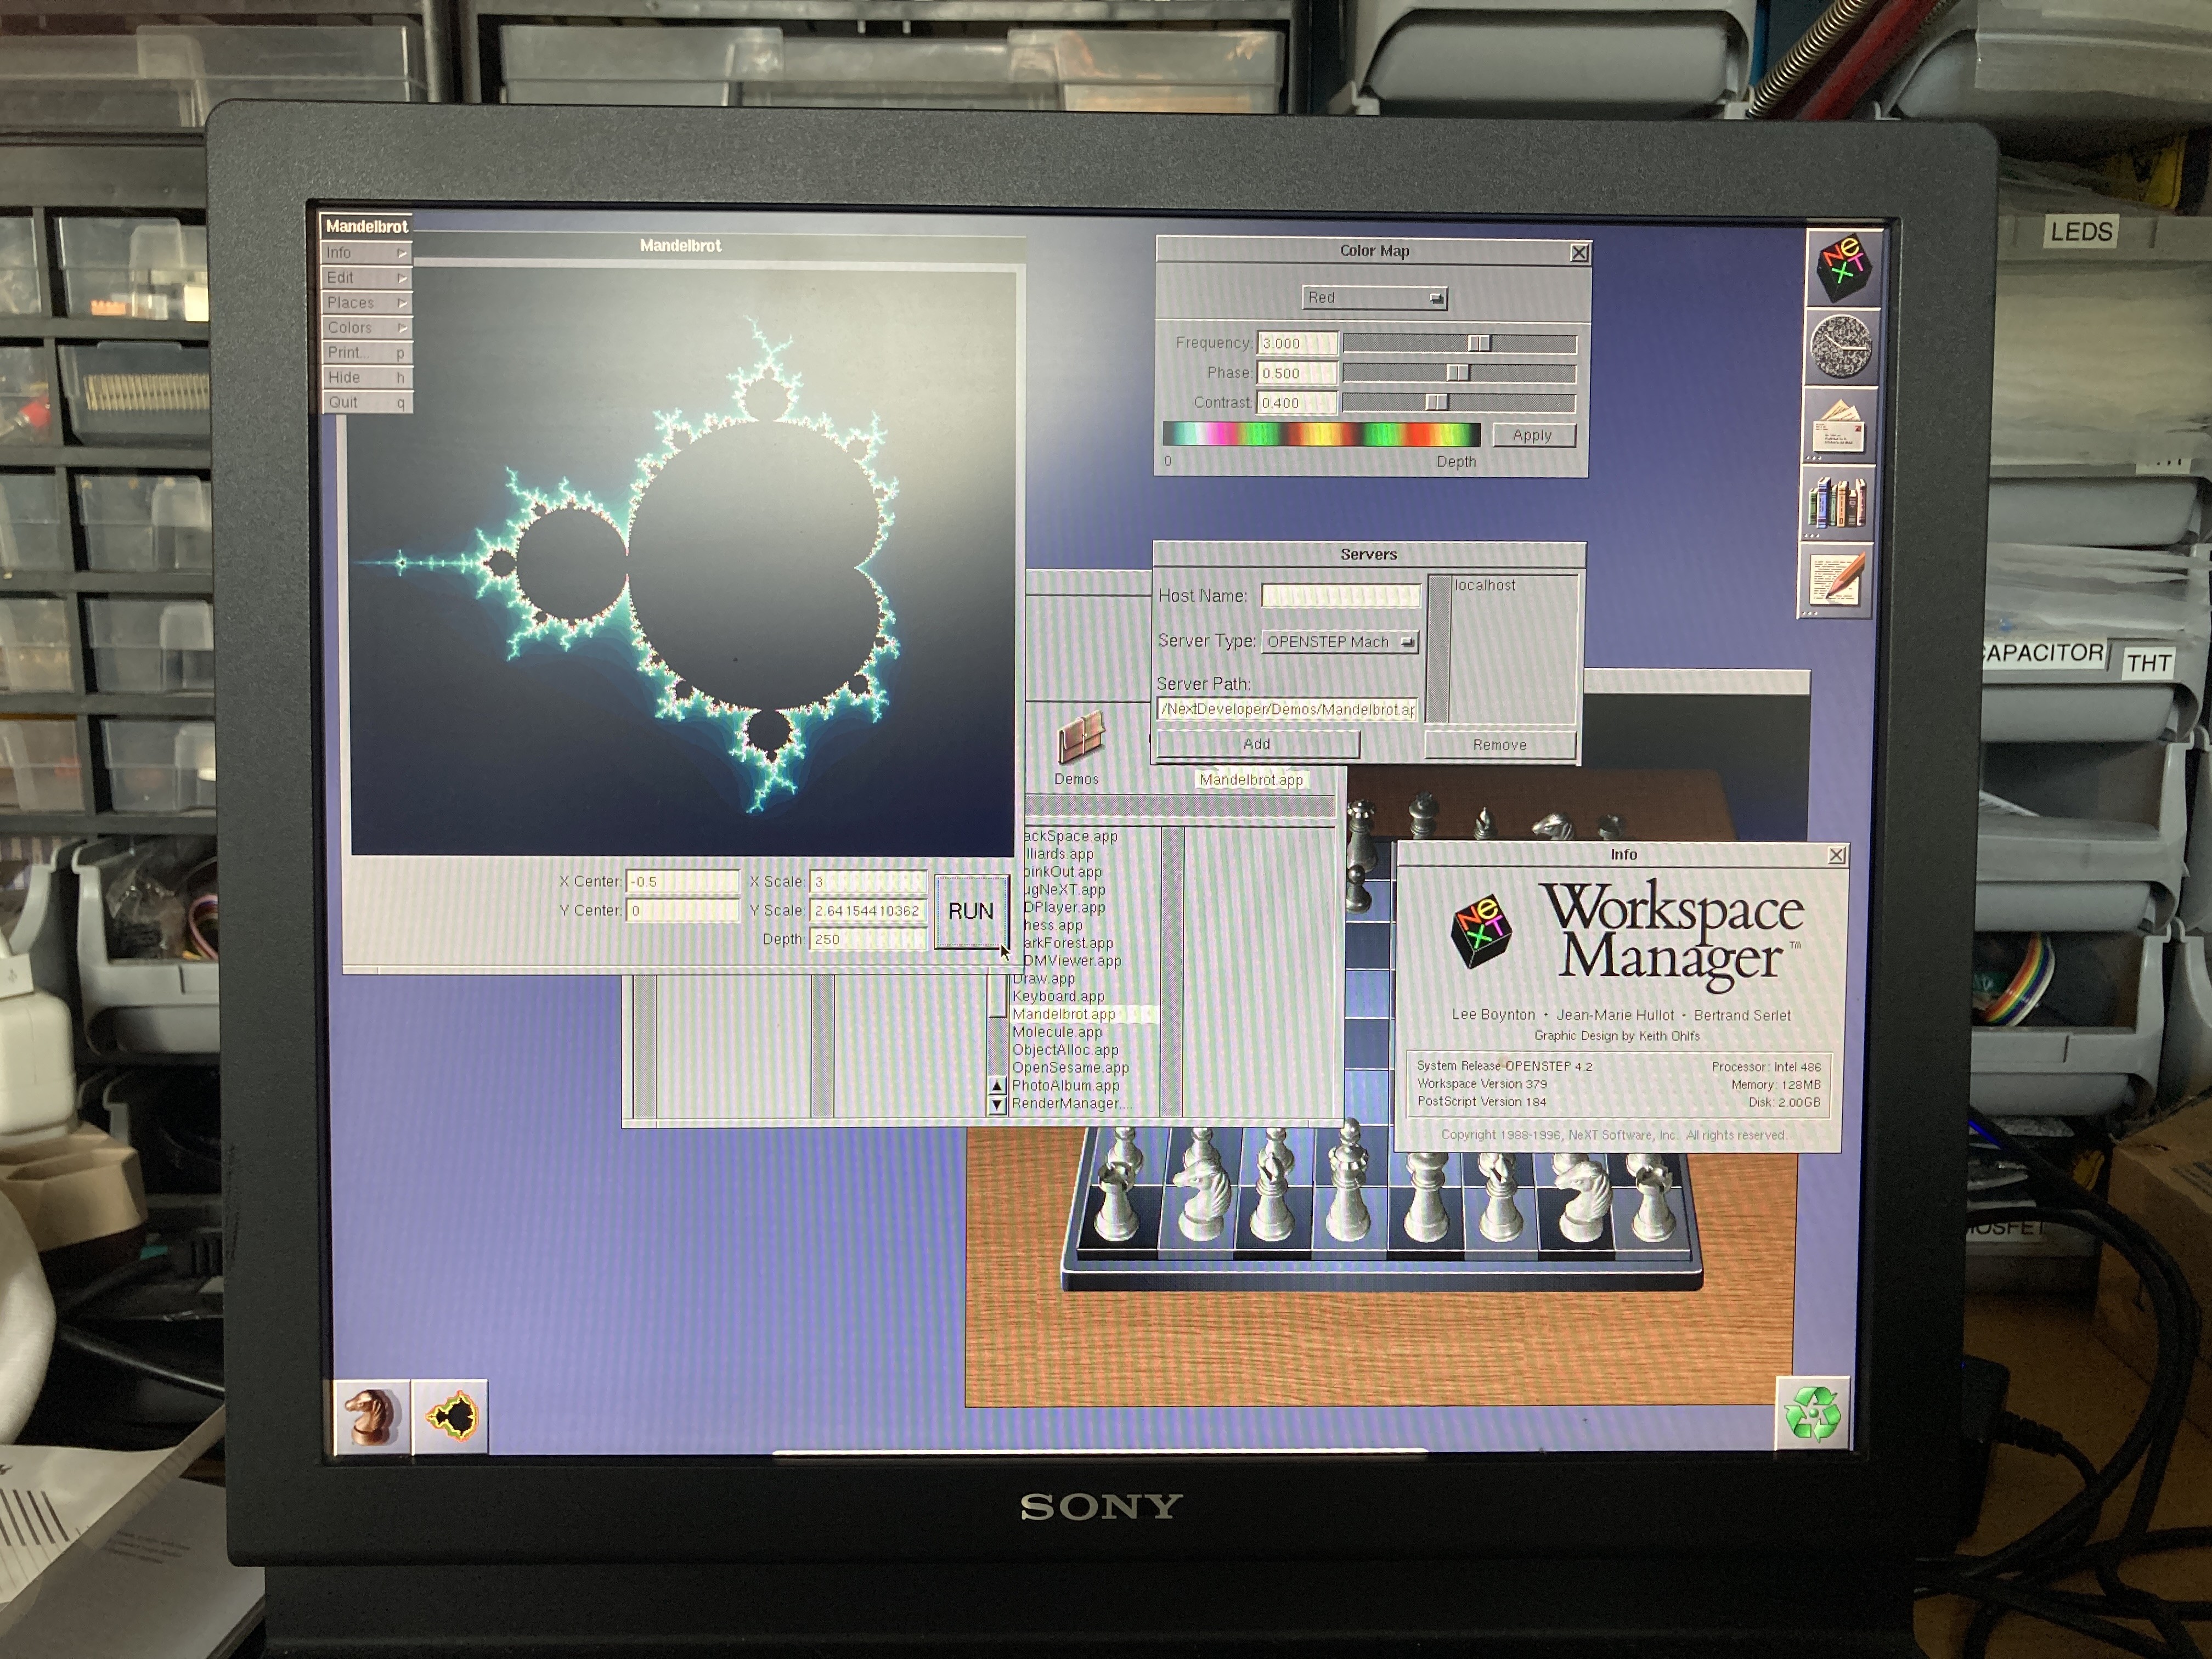
Next was the choice of CPU. For a long time I was thinking to use a Raspberry Pi 5 with 8 GByte of RAM and an SSD for mass storage instead of an SD Card (for reliability). But then I stumbled on the Intel N100 CPU which is roughly as performant and ASRock has an interesting mini ITX mainboard, N100DC-ITX that would just fit inside the upscaled case. The fact that this solution could run the real OpenStep 4.2 with VirtualBox made me decide to choose this solution. I found the installation instructions to get OpenStep 4.2 running inside VirtualBox here (it was less than evident to get it running).
Once all parts were designed a few long print sessions started. I opted for the 0.10 mm QUALITY setting which had a big impact on the printing time. All in all, printing everything took 123 hours (roughly 9 days)
My FreeCAD project and resulting STL files (including the original project and license for the tiny NextCube replica) can be found here.


